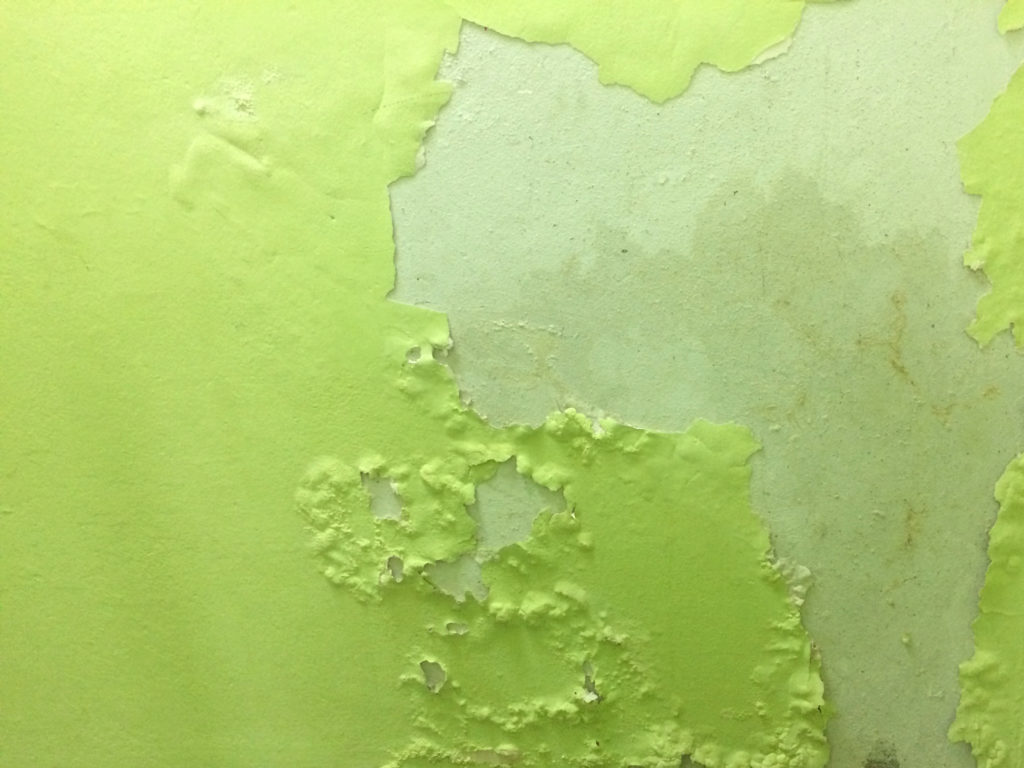
If you’re planning an interior painting project, you may have work to do before you get your brush wet. The wallpaper has got to go, and then you’ll be left with a gritty, damaged wall to refinish.
Here is Zenith Painting’s guide to getting the job done, from prep to paint.
1. Gather Your Gear
It’ll take a lot of tools to get this job done properly. Here’s the recommended kit:
– Construction paper and plastic sheeting
– Steamer
– Scoring tool
– Scraper
– Drywall compound AKA “mud”
– Mud pans
– Finishing knives
– Dust mask
– Safety glasses
– Sand paper and pole sander
– Primer (not water-based)
– Paint
– Paint brushes and rollers
– Painter’s tape
– Sponges and rags
Got it? Let’s get started.
2. Prepare the Work Area
Cover floors with the construction paper and seal off the room with plastic sheeting. Seal intake ducts and HVAC to prevent dust from spreading. Remove switch plates, outlet covers, and other fixtures that should be painted under.
3. Remove the Wallpaper
It’s time to start steaming. Carefully create holes in the vinyl layers with a scoring tool to allow steam and heat to penetrate the paper for better release. As the paper begins to lose its hold, use a scraper to get under the paper and lift the paper and adhesive from the wall. Be gentle, any gouges in this stage will lead to a more difficult refinishing process. Wiping down the newly-bare walls with warm water will help to remove stubborn adhesive residue.
4. Refinish the Wall
Once the walls have dried, the refinishing process can begin. Mix the drywall compound (AKA “mud”) according to the directions and begin applying a thin layer over rough or damaged areas. Mix only small amounts of compound at a time, and apply sparingly as any excess will need to be sanded off.
The compound should dry after 45 minutes or so, and then it’s time to put on your dust mask and safety goggles and start sanding. Drywall dust will get all over, so it’s a good thing you prepared the room and sealed intake vents.
After sanding, check for any areas that need further refinishing. Once this is complete and dry, use your rags and sponges to wipe the dust from the walls.
5. Prime the Wall
You’re going to want at least a dust mask and more likely a respirator for this step. Because wallpaper glue is water soluble, you’ll want to avoid water-based primers and instead opt for more volatile primers like alkyd or shellac based solutions. Open windows and get fans blowing to remove fumes.
Apply the primer evenly, and be grateful that the primer will dry quickly and so the fumes will dissipate just as quickly.
6. Paint the Wall
You’ll be glad to know that the final step is also the easiest. The room is already prepared from the priming stage, so go ahead and apply the paint in smooth, even strokes.
7. Relax, Finally
It’s done! Now you’ve got a nice smooth wall where tacky wallpaper used to be. You’ve also got an education in why homeowners often prefer to bring in professional painting companies to handle this tedious and exhausting job.
Next time, why not have the job done by professional Denver painters and leave the hassle to us? We’ve got you covered in Denver and all over Colorado, serving the entire metro area including Lafayette, Louisville, Broomfield, Thornton, Westminster, Golden, Arvada, Wheat Ridge, Lakewood, Aurora, Englewood, Greenwood Village, Littleton, Highlands Ranch, Centennial, Aurora, Lone Tree, and Parker.
[/column]


