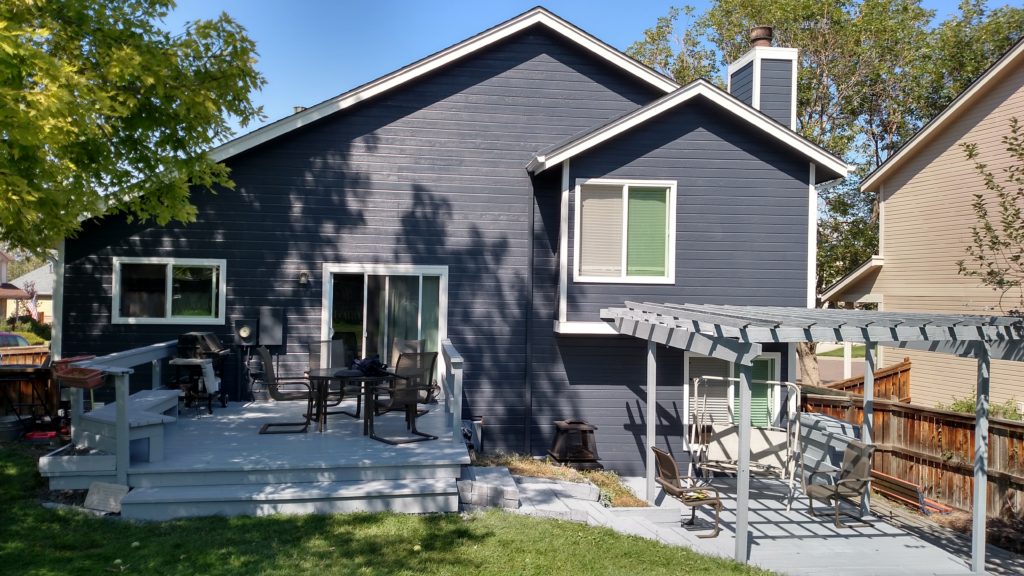
Zenith Painting & Coatings is back with the second half of our how-to on preparing your home exterior for painting. Catch up on our first half and then get ready to finish getting ready with these simple steps.
Flatten and Smooth
If you’ve got any cracks now is the time to deal with them. With a putty knife and exterior grade patching compound, fill the cracks like you’re spreading cream cheese on a bagel. Scrape away all excess and allow it to dry. Once the spackle is completely dry, use sandpaper to smooth the join where the repair meets the old paint.
Caulk All Gaps
The leading cause of wood rot is water, so seal the seams of your house with exterior caulking. Lay an even bead at the joints of every eve, overhang, and window—anywhere water has the opportunity to penetrate. If you have a large house, or a house with a lot of damaged areas, you may find that a manual caulk gun becomes exhausting to use. Consider buying a power caulk gun to avoid sore hands.
Prime to Protect
Once all the surface cracks have been patched and sanded and all peeling paint has been removed, cover any repairs with an exterior quality primer to protect the wood.
Prepare the Trim
Now is the time to cover any areas you want to avoid splattering with paint. This includes doors, windows, trim, sconces, plants, and driveways. For ease of removal, use painter’s tape when masking. Use old newspaper to cover windows, screens. Disposable drop cloths are a good choice for walkways and hedges.
That’s it, you’re ready to paint. Remember that preparation is essential to a quality job. Professional painters often spend more time on preparation than painting, and for good reason. A few hours of preparation will add years on the life of your paint job! Give us a call at 800-381-4601 today and we can get you started with a free estimate.
[/column]


