Patch Wall Imperfections
Covering nail holes before painting revitalizes and freshens a space. It is one of the easiest home improvement projects you can do to greatly improve the appearance of your home. You can repair nail holes, screw holes, cracks, dents, and larger holes using a spackling compound before you paint.
Choose Your Products
To complete this project, you’ll need:
-
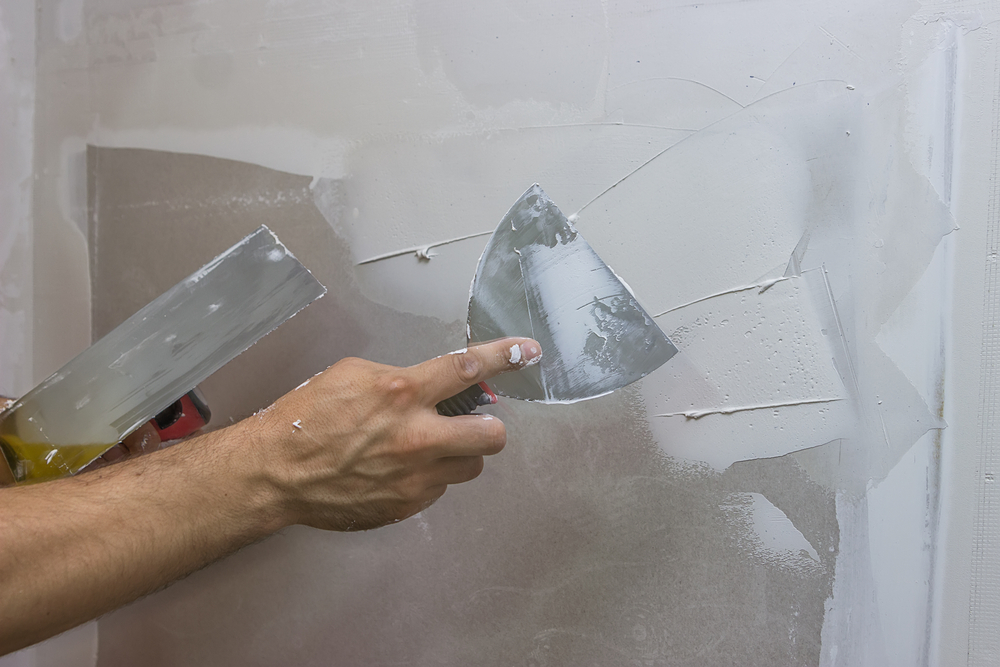
Drywall / Putty Knife: Putty knives are adequate to repair small nail holes, where you will need a drywall knife to cover larger imperfections in the wall. As a rule, the larger a space you are repairing, the larger a knife you will need. To repair nail holes and other imperfections, use a knife with a sharp, hard edge. Knives with a flexible edge are used to seal around drywall tape.
-
Patching Compound: Spackling compounds are made from gypsum plaster and adhesive. Use spackling compounds to patch small nail and screw holes, or small imperfections. Plaster walls must be repaired with a plaster product. Spackling compounds come either powdered, which you mix with water before using, or in a paste form, which is more convenient and commonly used:
-
Lightweight Spackling products are fast-drying with little to no shrinking and a smooth finish. These are best for holes no deeper than ¼ inch and no greater than 1 inch across.
-
Vinyl Spackling is best for slightly larger cracks and holes, up to ¾ inch deep. To apply, layer ¼ inch at a time and let the spackling dry (1-5 hours) before applying the next layer.
-
Spackling plus Primer is useful if you have decided to repaint the entire wall. It dries fast (30 minutes) and is undetectable under one coat of paint after being smoothed with a putty knife.
-
How To Patch Imperfections
#1 Clean the Area with soap and water.
#2 Smooth around the imperfection. Often, a hole will have some areas around it which are fragmenting and protruding outward from the wall. Remove as much of this as possible to create the smoothest edge possible before patching. You can use a putty knife to do this, or a fine-grit sandpaper will work well if there is not a lot of protruding material around the hole. Wipe down the area again after removing any protrusions around the hole, to remove dust.
#3 Apply a small amount of spackling using a putty or drywall knife. Be careful to only apply as much putty as you need to patch the area. Do not slather the compound over the damaged area. Instead focus on filling the specific hole with just the amount of putty necessary. Use the putty knife at a 45 degree angle and smooth putty over the area; do this several times until the hole is filled. Remember to close your container of putty as soon as you’ve removed what you need, as it dries quickly.
#4 Scrape away excess compound from the wall, using your putty knife at a 90 degree angle to the wall.
#5 Let the spackling dry completely. Allow a few hours for dry time.
#6 Sand the area if necessary after the product dries. You might find this necessary if the spackled area is slightly raised from the wall, or if it is uneven. If you used vinyl spackle for a larger hole or imperfection, you will need to sand the area.
#7 If the opposite is true and the spackling has depressed slightly after drying, apply additional spackling using your putty knife and let it dry, until the patch is even with the wall surface.
#8 Use primer (if necessary) and paint matching your wall to finish the repair. If the area you’ve worked on it larger than 2 inches, you may find it necessary to repaint the entire wall.
Following these eight steps will restore a smooth, even finish to your walls.