Before the installation of floor coverings, it is crucial to complete proper RH testing. If RH testing is not conducted before the installation of flooring, moisture vapor emissions can cause warping, peeling, mold, and many other expensive issues. RH testing can be done relatively easily by a ICRI (International Concrete Repair Institute) certified professional at Zenith who will follow the necessary steps. There are 3 steps that can be taken to ensure successful moisture mitigation: timing of the testing, proper installation of an ASTM F2170 kit, and accurate readings of the results.
Understanding ASTM F2170
The American Society for Testing and Materials (ASTM) realized that in most cases, floor coverings failed due to undetected moisture within the concrete. As a result of these findings, they developed a method of testing using In-situ probes. In-situ probes have been proven to be more reliable than the old standard of anhydrous calcium chloride testing. In-situ testing involves placing a probe within the concrete itself. The probe is placed at 40% depth so the contractor can ensure the reading is relative to the moisture in the concrete. This is important because concrete tends to have more moisture deeper in the concrete where the probes are placed. By placing the probe at 40% depth, a contractor will have a better understanding of what should be done prior to installing floor coverings.
Timing
A full 72 hours of measurements are required to complete concrete testing if a standard In-situ probe kit is being used. 72 hours will provide accurate results and it will give the contractor a full picture of what is going on within the concrete. Many contractors are now using rapid testing kits what can be completed in as little as an hour! By having proper results, contractors can buy themselves time to adjust or fix any underlying moisture issues.
Installation
Installation is relatively simple if the professional has been trained properly. It is a 5 step process that can be done quickly and in a confined space so it doesn’t interfere with other work.
- Drill- Begin by drilling a hole until you have reached 40% depth.
- Clean- Attach the provided vacuum attachment to any standard shop vacuum hose and begin to clean the hole and surrounding area. There will also be a small brush in the kit that can be used inside the hole to remove any stubborn concrete particles. Vacuum once more.
- Insert- Insert the sensor into the hole using the provided insertion tool and cover with protection cap once the tool is removed.
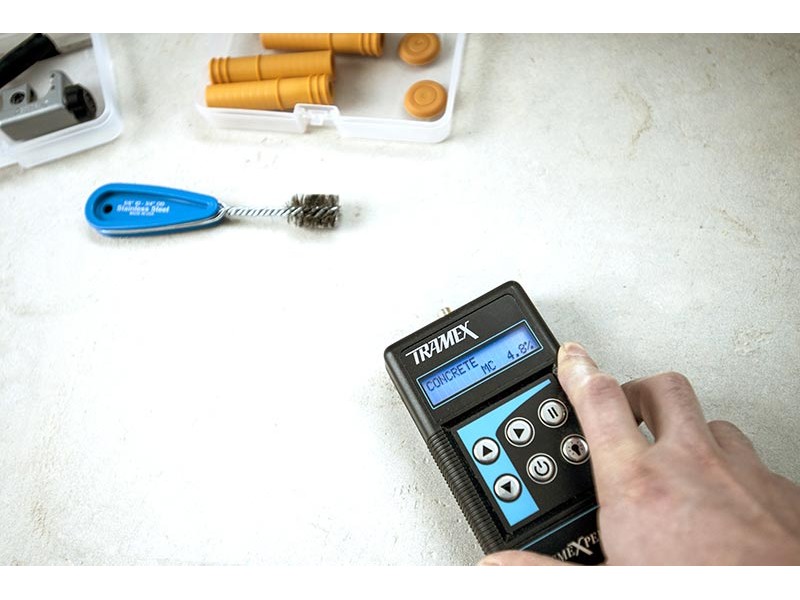
- Evaluate- Write down the readings being pulled by the sensor to evaluate. Most kits will display both the RH value (relative humidity) and the temperature value.
- Cover- Once the sensor is removed, insert the holding pin and cover with a concrete patching compound.
Readings
Though this may seem like an easy task, a professional’s help is needed during the installation and evaluation of the readings. Once there are relative humidity and temperature values, an evaluation can begin to take place. This involves extensive knowledge in the field of concrete and in the case that moisture is present, a professional will have to decide which path of moisture mitigation will have the best outcome.
At Zenith Painting and Coatings we specialize in concrete flooring. We understand how damaging and detrimental moisture migration can be if not handled properly. Our team of skilled professionals are standing by to help you finish your next project so you can proactively protect your floor coverings. Call us today or visit our website for more information on moisture mitigation.